

How To Make Something Look Like An Anime Fake Screenshot
Some of you guys accept been waiting for this- And I finnaly finished to practice this! I had a lot of work with school, commissions, my edits for my AU, writing my AU, ... :skull: . So yes sorry that I kept some of yous waiting!
So now we are going to get-go with the tutorial. I utilize IbisPaintX for my drawings and false screenshots.
Step one:
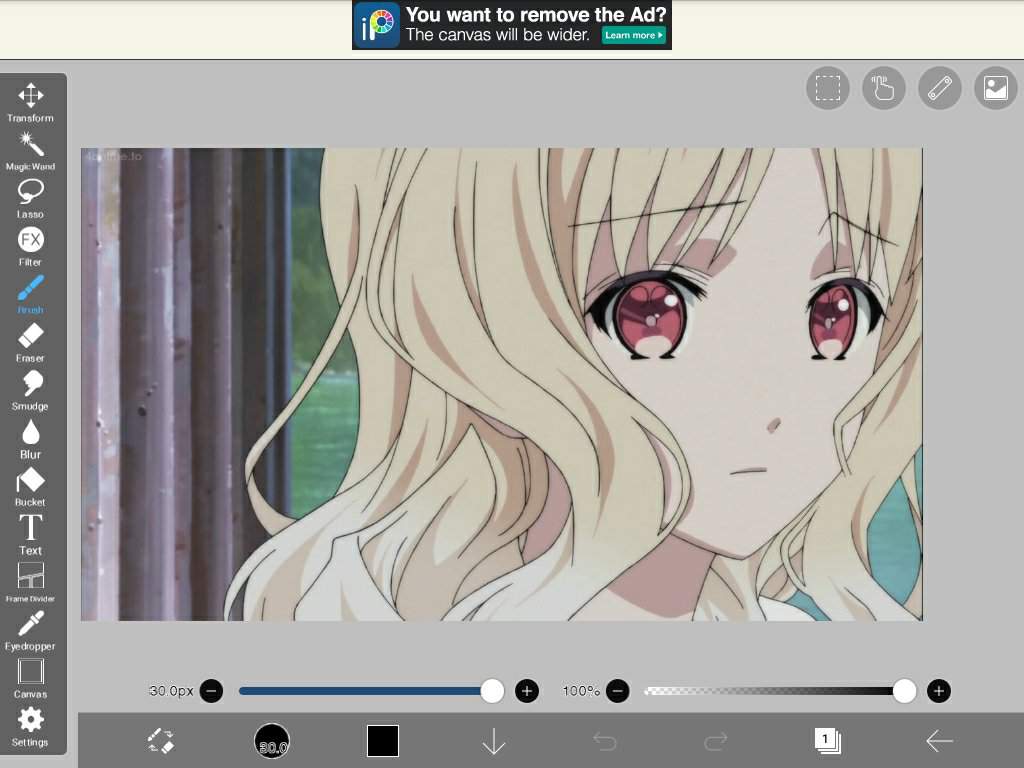
Choose a anime screenshot (easy correct? You can get one of google but I personnaly go my screenshots from a anime app called 4anime. Like that it's good quality-)
Pace 2:
Open the image on IbisPaintX
Stride 3:
So yeah, here is where everything starts. Y'all click on the canvass department, then you click on resize.
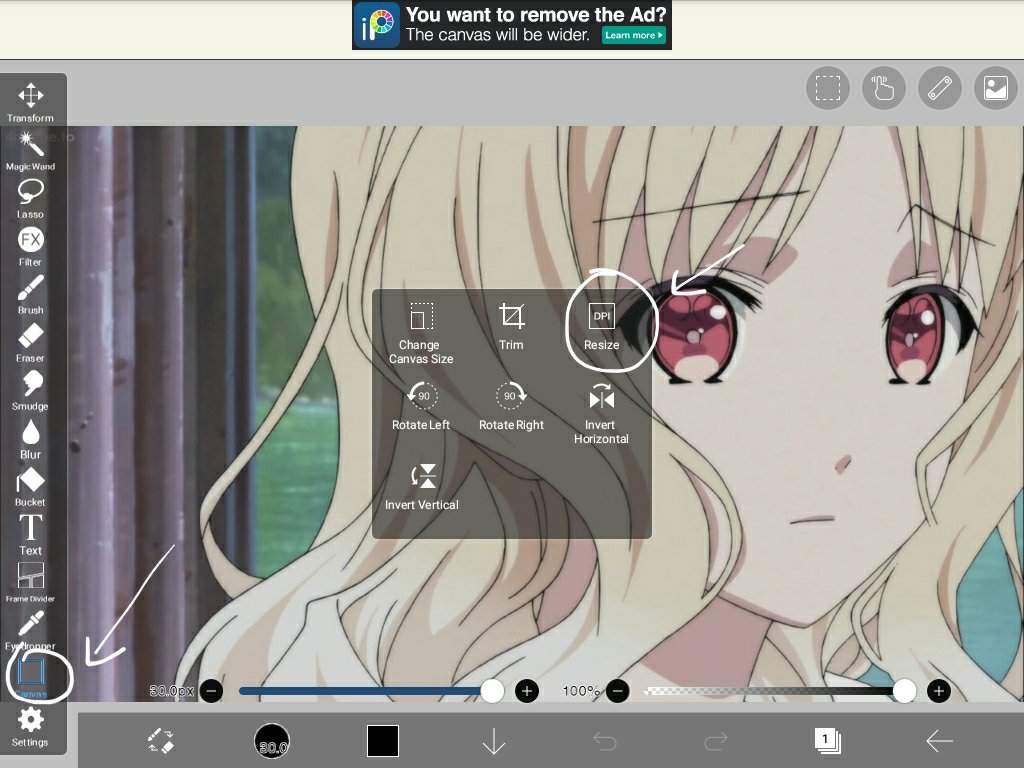
^ You lot will get this
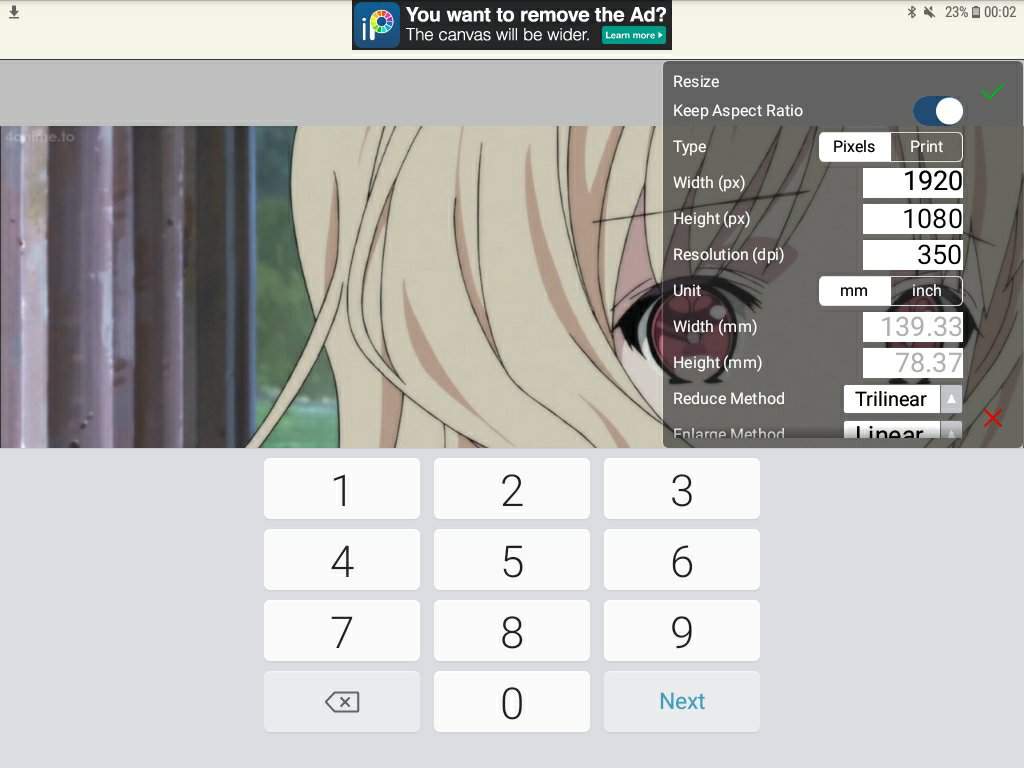
You lot must stay on the pixel choice. And so you need to edit that sail, here is the thing where I permit you choose. I personnaly pick 1920 for width, but that will cause the whole thing to go a flake slower, the quality for the event though is what I similar. But other take 1080 for width, I took that option for the starting time of my editing, it goes at your speed only the quality can be a bit less.
Stride iv: line fine art
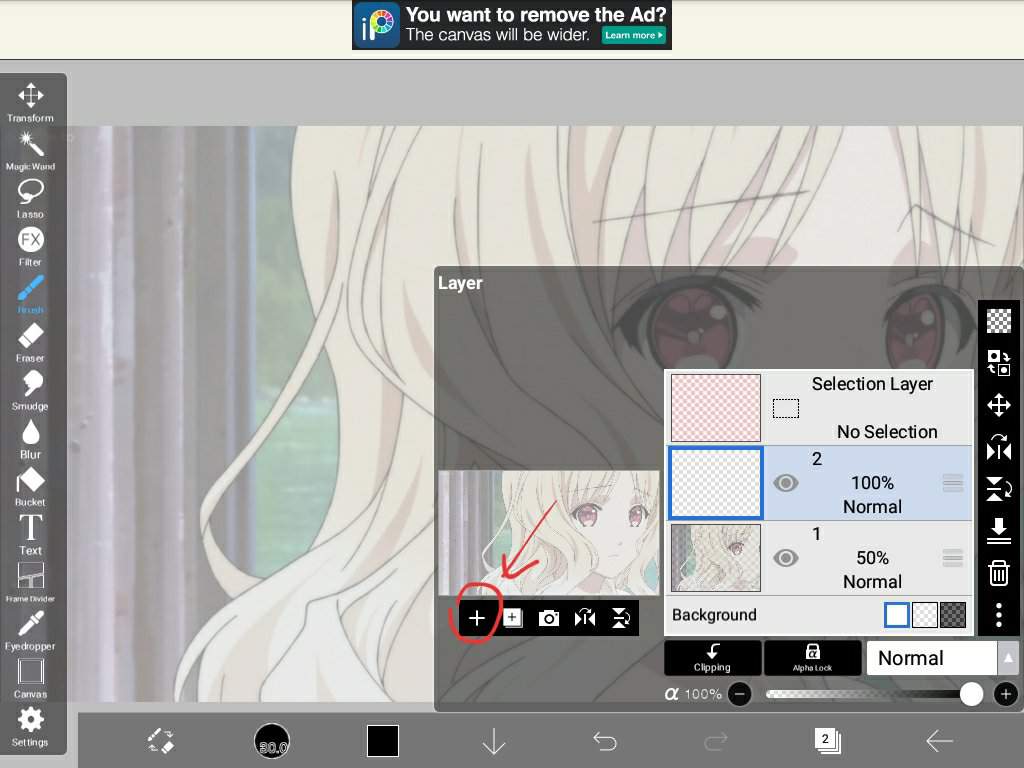
Yeah so I didn't testify what happened before :,). Basicly I clicked on the layer pick and I put the opacity of the starting time layer to 50% so that it would exist easier for the lineart. Now what you lot do- You click on the little '+' and it will requite you a second layer. On that second layer you will do your lineart, you keep the 50 % opacity and you click on the second layer to be there. Yous go to your brush option and for the lineart you MUST use the dip pen (difficult).
Then y'all start- But a trivial advice; Start with the chin.
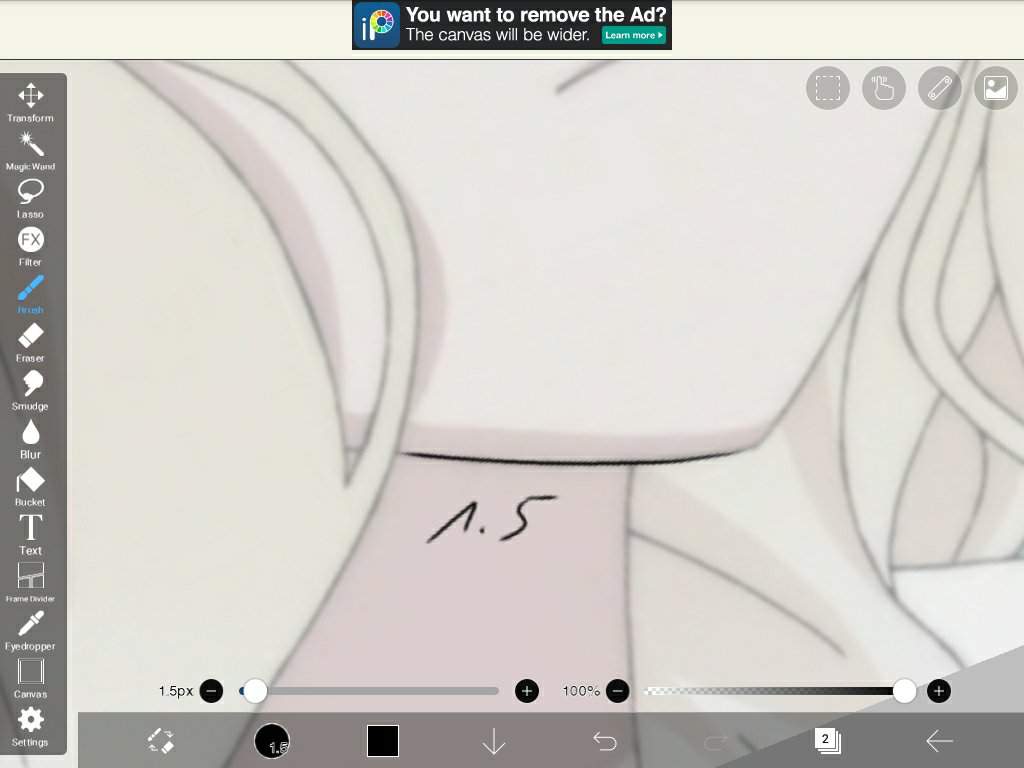
This is a little play a joke on from spiritual raven- You test on what size you lot brush needs to be for the fake screenshot. For my 1920 option, I picked 1.5 for then face lineart- I e'er need to use this trick because it would be a bit messy if you used thick lineart :,)
And now you start your lineart!
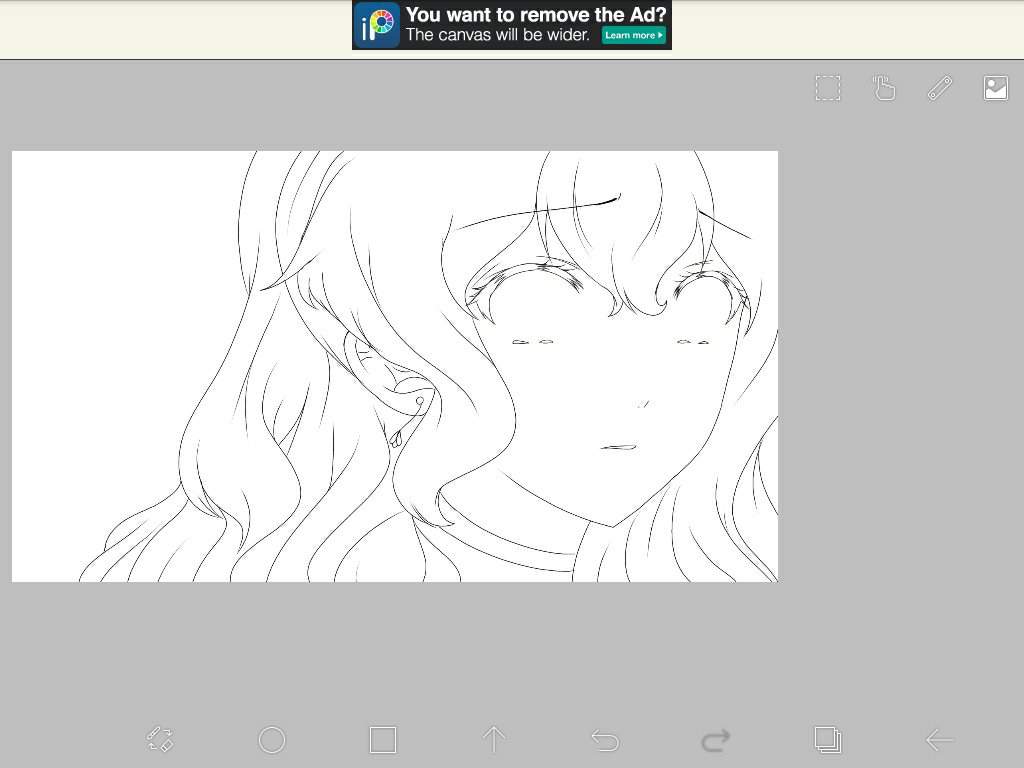
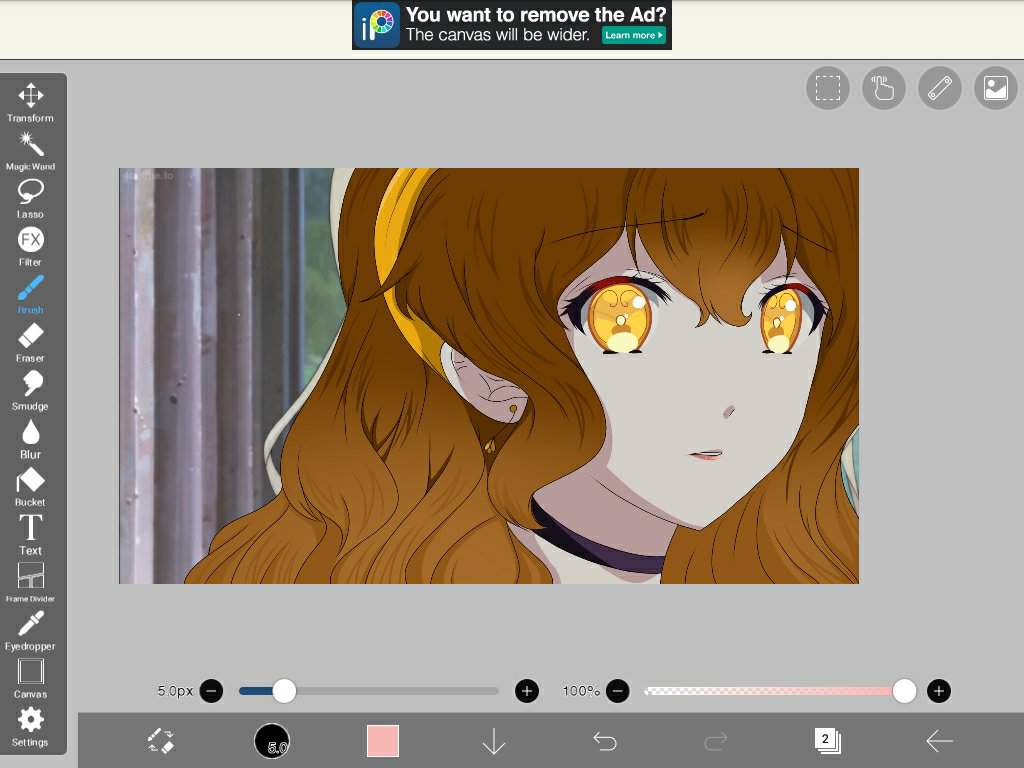
This is my event. I didn't do the optics yet because I will handle those on a other layer.
If yous wonder "Hey Niko how is your background white?" Well honey, I got back to the layer option, clicked on the first layer and did the opacity on 0%, like that I could see if my lineart didn't look weird.
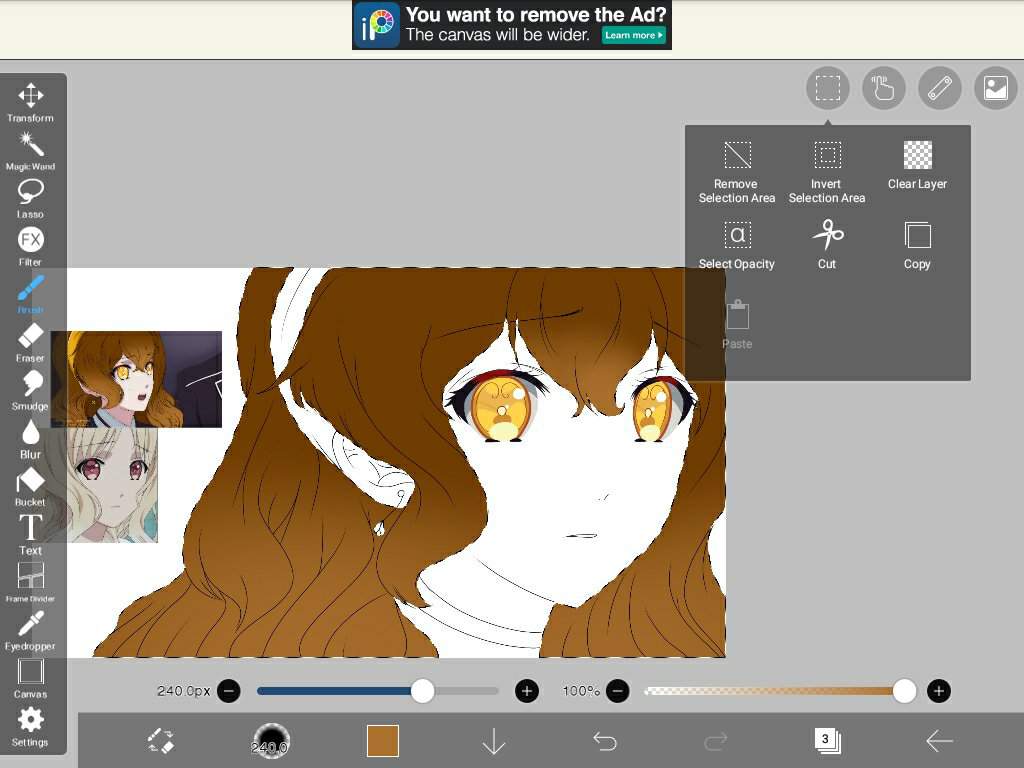
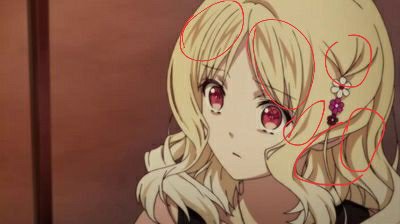
Step 5: Optics
Diabolik lover eyes are pretty complicated merely they are my favourite part, I always offset with coloring those and editing them. You can even create your own blazon of eye! Then I'll exit that option to you.
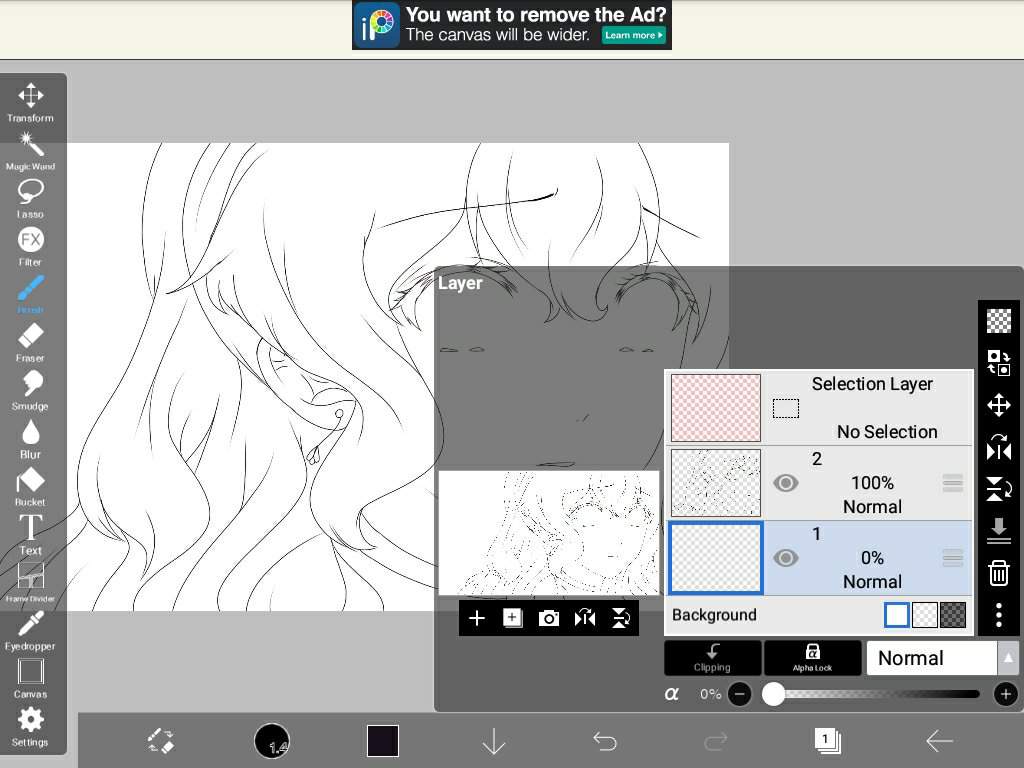
For getting the original yui eye style. I put my 1rst layer on threescore% for oppacity to see how it is created clearly. Now- We don't put the '+' option on the second layer with the lineart. We will make a new layer, so like earlier how we used the pull a fast one on for the lineart layer, we are staying on the first layer, we click '+' and so we have the new 2d layer! We click there and start the eye coloring.
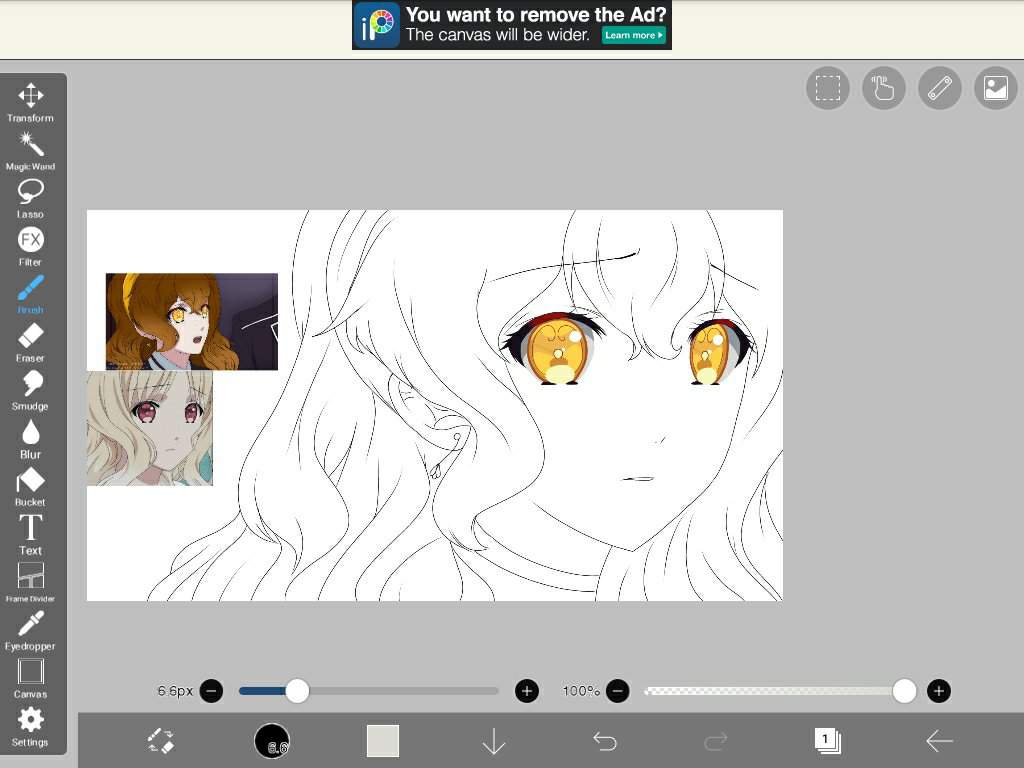
This is my finished upshot. I also coloured the lashes and the eye surroundings past using a yui reference of that same screenshot that I used- At present I beg you, for your own mental sake, don't put the references on that aforementioned layer, I had that STRUGGLE many times- :broken_heart:
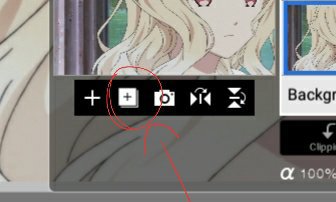
So what you exercise- You make another layer, ya know- Same trick blablabla. And if yous don't desire to see your references anymore so there is the 'heart' selection. And If you want to have references, similar- Y'all want to go them at that place to use, and then click on the camera icon.
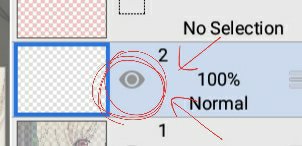
Click on that heart so that the references aren't visible anymore, and oop magic-
Footstep 6: Coloring
FLAT COLOURS EEEE. Okay don't guess me- I'grand happy that I got at that place and that I kinda could explain the best I could-
I beginning with the hair.
So y'all can spend a lot of fourth dimension with coloring with your brush or you can use the bucket selection! I personnaly apply the bucket option and then colour the details with the brush that the saucepan didn't select.
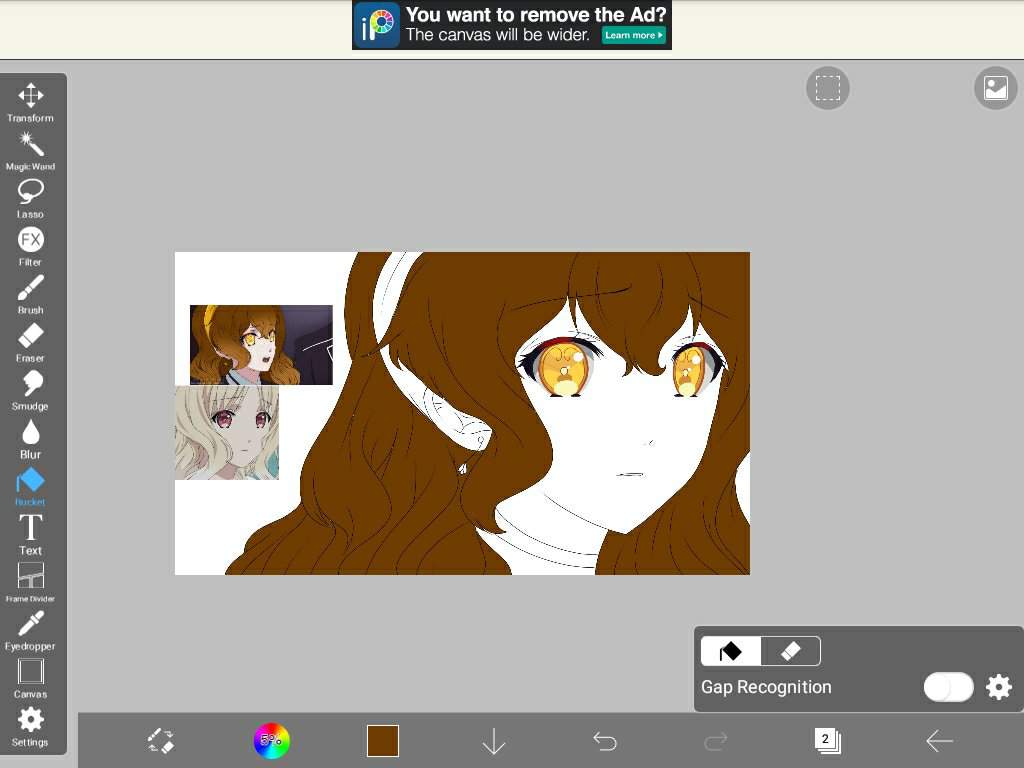
And yet once more, I practise this on ANOTHER layer. So you know how information technology goes uwu.
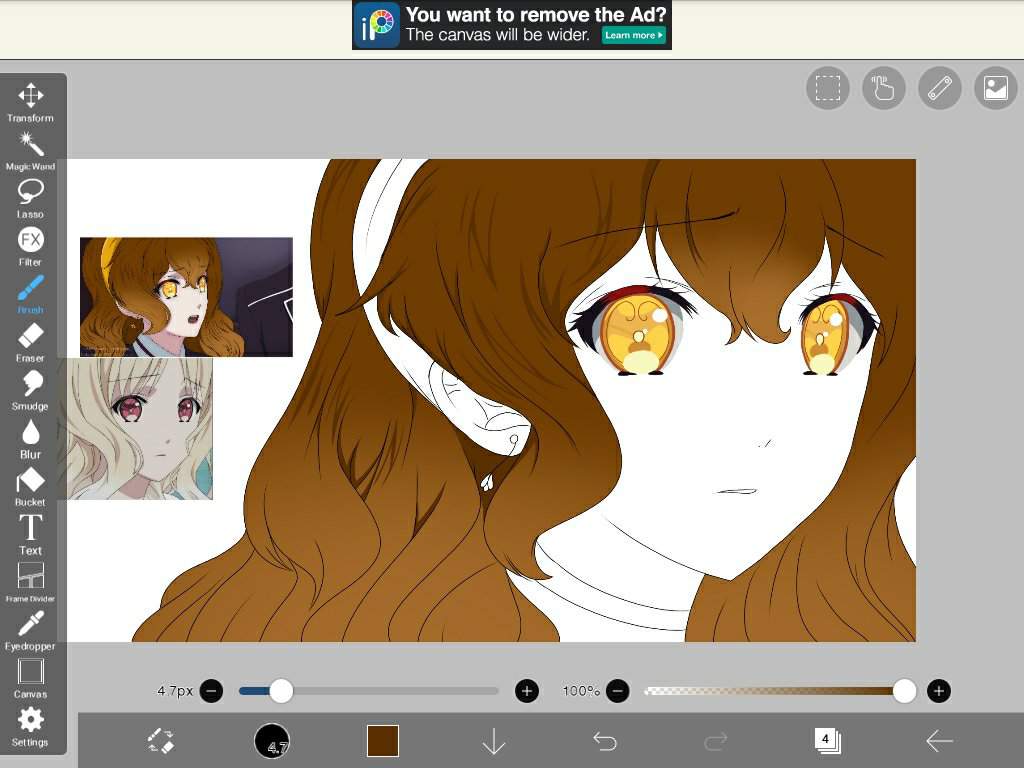
And at present, what exercise we do? This is gonna be unlike than the usual layer i and and so +.
Now this volition be, I stay on that hair flat colour layer and then I click +. You become on the layer that you fabricated and in that location is where the magic begins.
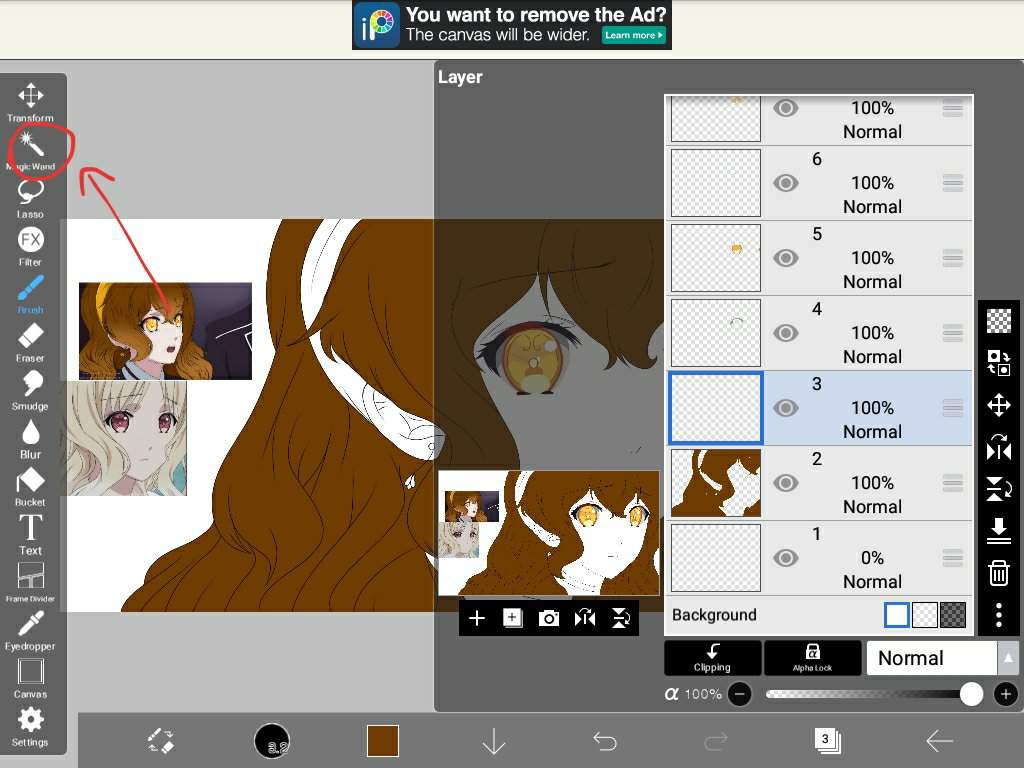
Nosotros pick the option 'magic wand' become fairies and click it on the pilus, like select all the coloured pilus.
And then we become to brushes after that all your coloured pilus has been selected.
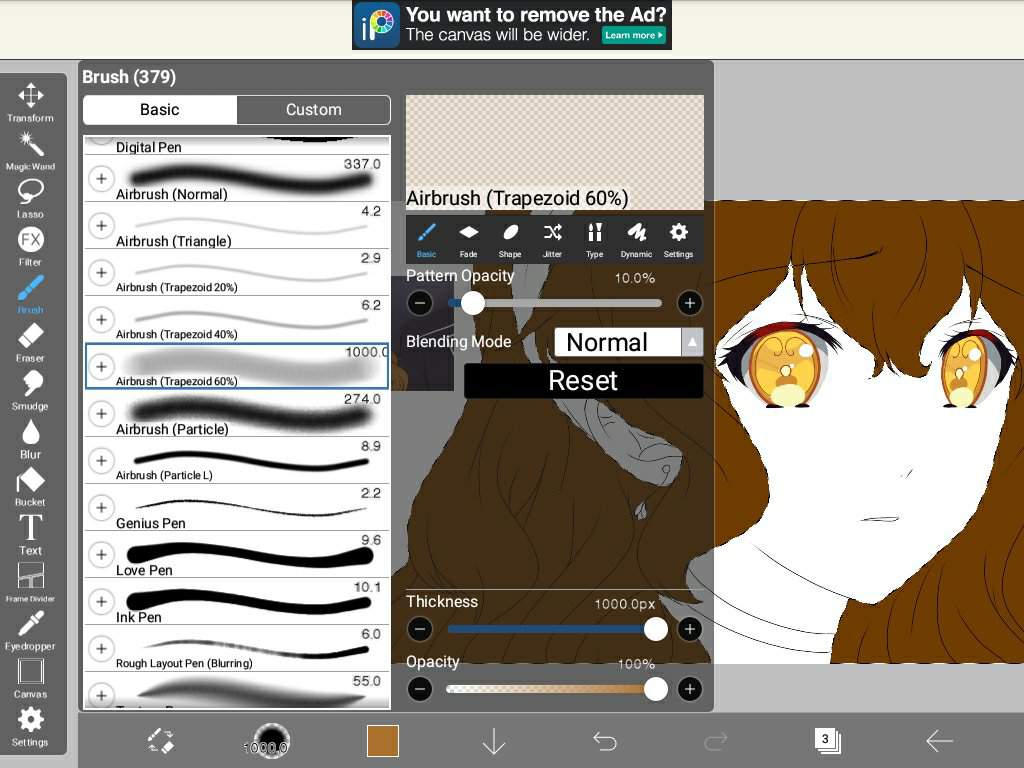
In brushes you need to choose 'airbrush (Trapezoid 60%) I usually use it on the maximum so that I can get a good fade result.
And then when yous are finished with that become to the piffling icon next to the hand, click on it and then go to 'remove pick area.
Step 7: Shading
And so at present we add another layer, so we stay on that same layer and click +.
Nosotros go on that new layer and start the piece of work. Diabolik lovers blazon of shading is special so with y'all guys as beginners, use a yui reference (I repeat, not on that same layer, Use a unlike layer to put the references on).
You encounter those types of V and Due west shapes? Y'all demand to recreate those on your edit.
Like how I exercise on mine correct now.
And you exercise that for the whole hair matter.
Then after finishing the hair, you can edit the clothing, create, continue a school uniform, whatever you desire, it's your edit.
Also don't forget to exercise the face. Like the shadows and such.
And now once that yous are done with the hair. Go to layer 1 and exercise the '+'. And like that you can color the accessoires and clothing.
But don't forget, each time that yous start a new affair, do the layer 1 and '+' play a joke on, never forget that or you lot WILL struggle.
At that place, hither is my result, I did the skin color and the shadows. I used the example of the original epitome that I was using.
"Only niko- Yui's hair is bothering" Don't worry child, I utilise the airbrush to blurr that office and hide it.
Sadly I didn't use that trick on this edit, I used a dissimilar background. And so you know the vocal-
LaYer one
AnD then '+'
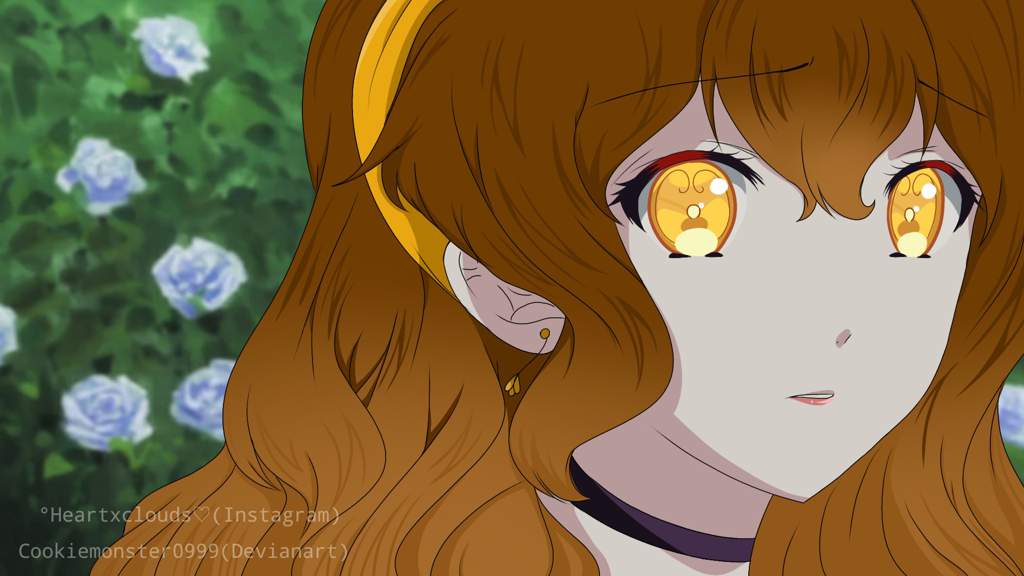
I then used the photographic camera icon and picked a dl anime background to apply.
My finished result:
Ah right- If you wonder how to make the peel look smooth-
Go to the layer that you lot want to have blurred (choose the lineart i) y'all get to this icon
It will give you 3 options. You lot choice the 'Indistinguishable layer' one. You get the same layer- After that, you go to the filter icon. Then you click on there. You get to section 'blur', you then pick 'Gaussian mistiness', and and so you go as blurry as you wish!
And if y'all are finished with choosing, click on the carmine cross. And in that location you lot go! Finished ♡
Then I promise that this post helped and that I explainned skillful enough qwq- This is why I'm scared to ever become a teacher-
Have fun! And trust me, fake screenshots/editing takes practise.. And then if you aren't proud of your offset one, don't surrender!
Now aight imma head out- Follow me on instagram or devianart 🤪 :point_right: :point_left: :two_hearts:
Source: https://aminoapps.com/c/diabolic-lovers/page/blog/fake-screenshot-tutorial/bXJm_kLsou0blpRQEQlQk01z2nLNXJzN05
Posted by: mcnamaragulay1979.blogspot.com
0 Response to "How To Make Something Look Like An Anime Fake Screenshot"
Post a Comment